|
By Mike Wynn, Engineer
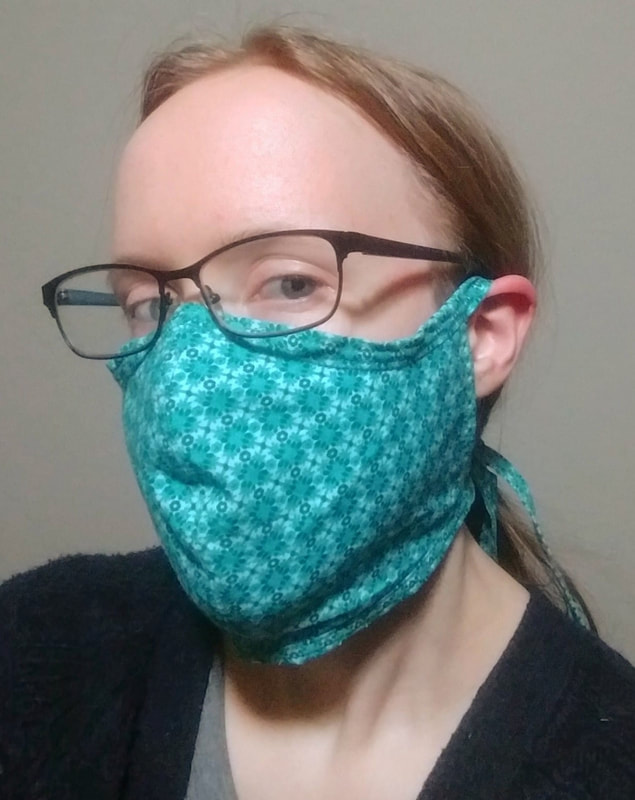
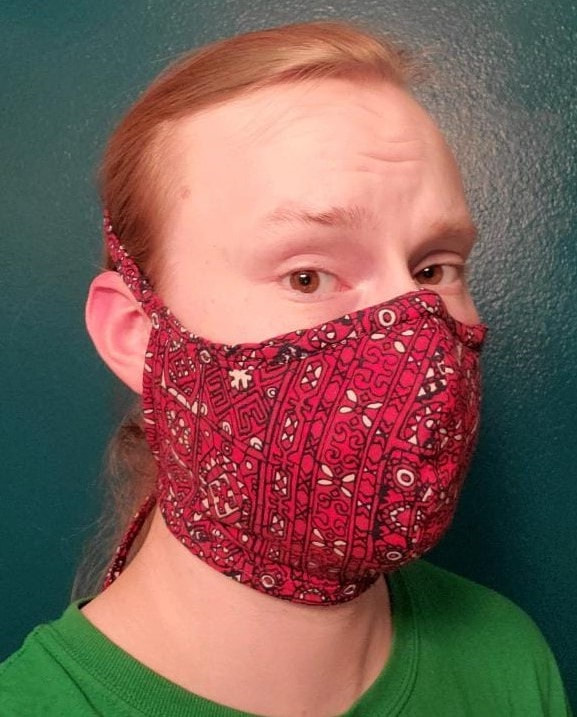
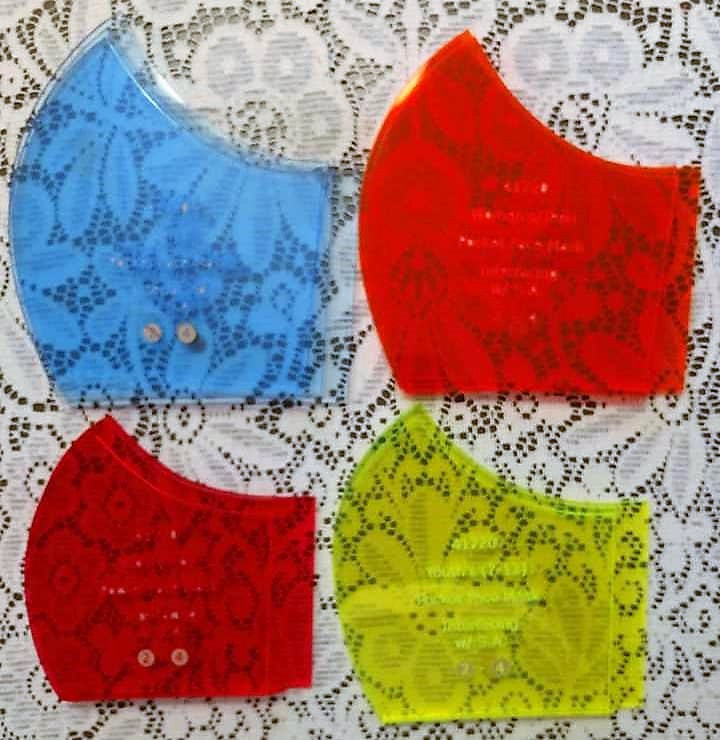
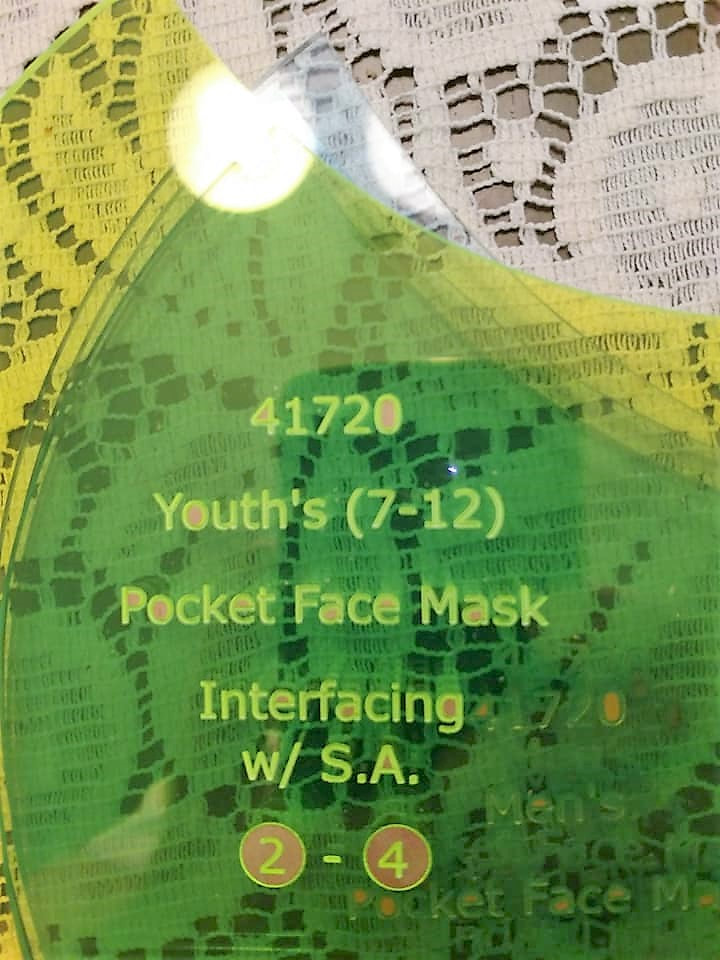
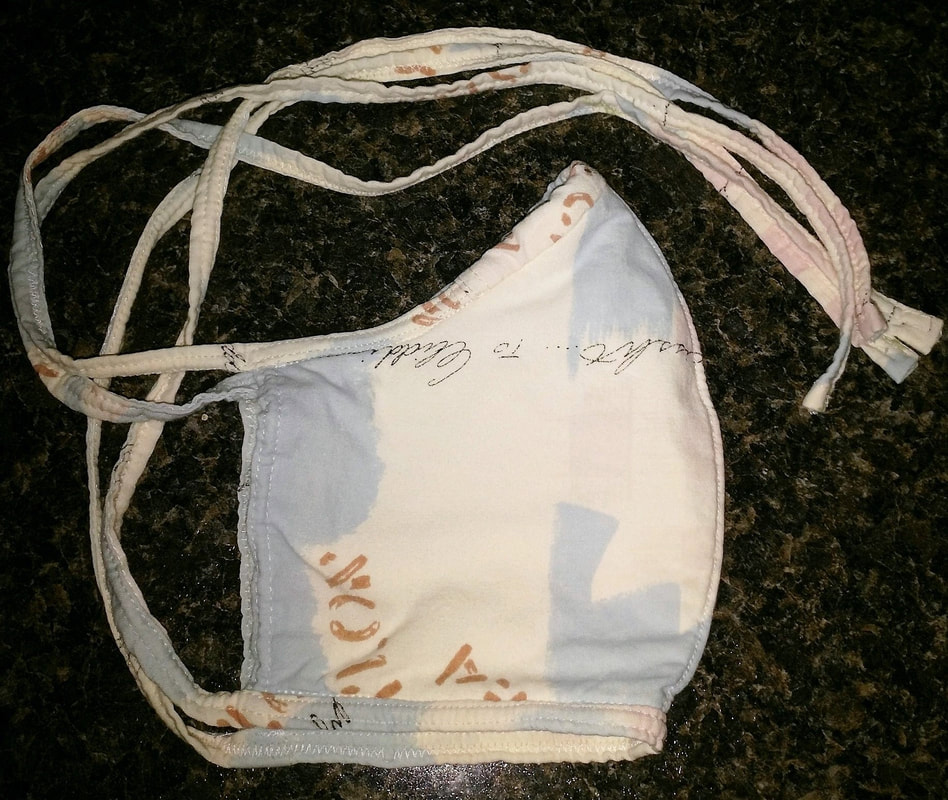
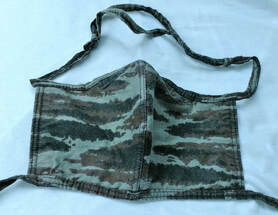
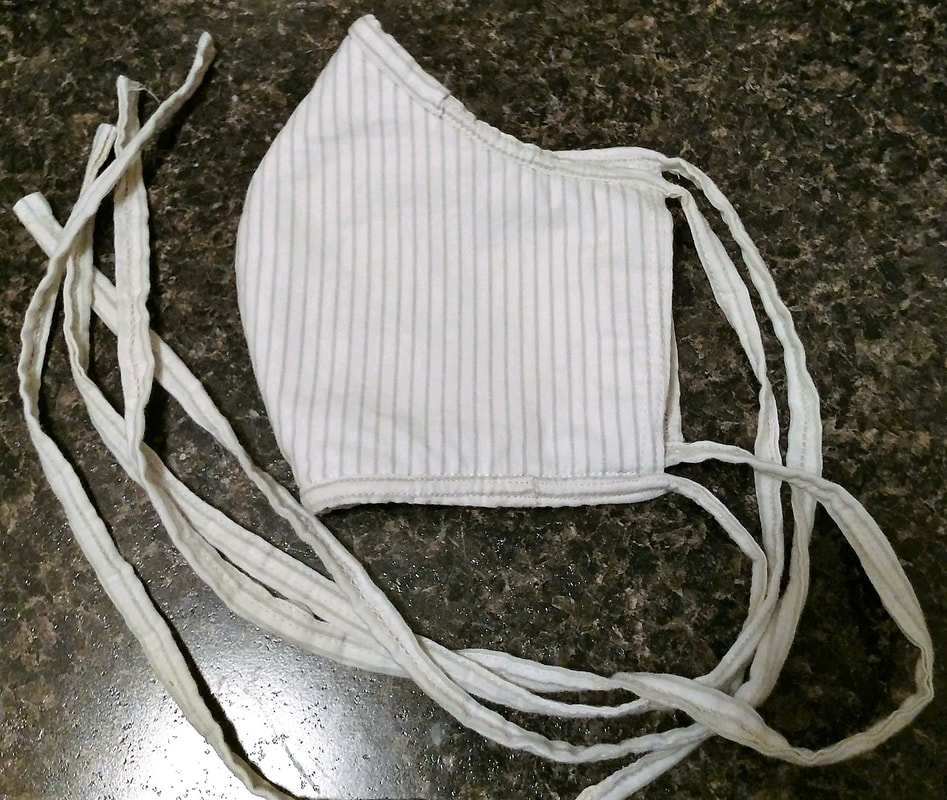
The SVG files available on the site turned out to be just one that had been awkwardly stretched to the second size, so the curves didn’t match between the pieces. After some manipulation, I was able to clean up the patterns to get the curves to fit properly. You can find those files below. I also added text on each pattern. Good thing I asked my wife to be specific. She wanted not only the pattern size and name of the template piece, but also the number of pieces to cut, an indicator that the seam allowance is included, and a self-generated pattern/series number she puts on all the patterns she generates on her own. Acrylic Adventures The next step was to get the acrylic, which was much more of an adventure than you would expect. Due to the Covid shutdown, this wasn’t a normal trip to the local plastic store (fortunately, we have one), it had to be ordered online. The curbside pick-up made me feel like I was in a movie version of some type of shady deal. “Call us when you get here and you’ll be told where to go to pick up your order. Drive around to the loading dock with the ‘plastics’ sign on it and stay in your car until someone brings out your order and sets it on the dock.” I was almost expecting “Leave cash in non-sequential bills in a plane paper bag.” and I felt like I should have had a trenchcoat and fedora. The Results After a quick test piece to make sure the settings were right, I dutifully produced the four sets of pattern pieces. My wife was ecstatic at how the templates turned out. It’s much quicker to cut out fabric with them. She chose the transparent acrylic so she could see the fabric’s pattern through the template and make sure she wasn’t going to cut through something she wanted to highlight. The quilter’s use the term “fussy cut”, which I now understand. In hindsight, my wife thought of one more improvement. There should be an etched line indicating where the ¼” seam allowance lays. This would help with some of the fussy cuts by providing a way to see the areas that won’t be visible in the finished mask. Lessons learned for the next set of patterns.
Make Your Own If you want to make masks like these, here is the original site of the patterns. Some additional information from my wife on her specific adaptations to the original patterns: “The masks I'm making are slightly different in the use of underlining and interfacing, which she didn't use when I first read her page & downloaded the pattern. I also wanted to use ties vs elastic so there wasn't as limited use due to elastic fatigue. I also added a little pocket across the bridge of the nose to place removable wire for the fit. The reason for making the wire removable again was for fatigue of the wire due to washing/ drying/ etc. If you're interested in the ties, I've been cutting straight of grain vs using any of the bias', but the 40"x1.5" strip will be folded like packaged bias tape before being stitched closed using a double needle.” If you want to make your own masks, here are the SVG files for all four sizes:
1 Comment
|
Categories
All
|
|||||||||||
 RSS Feed